Before the Roads Open: Biking Rainier
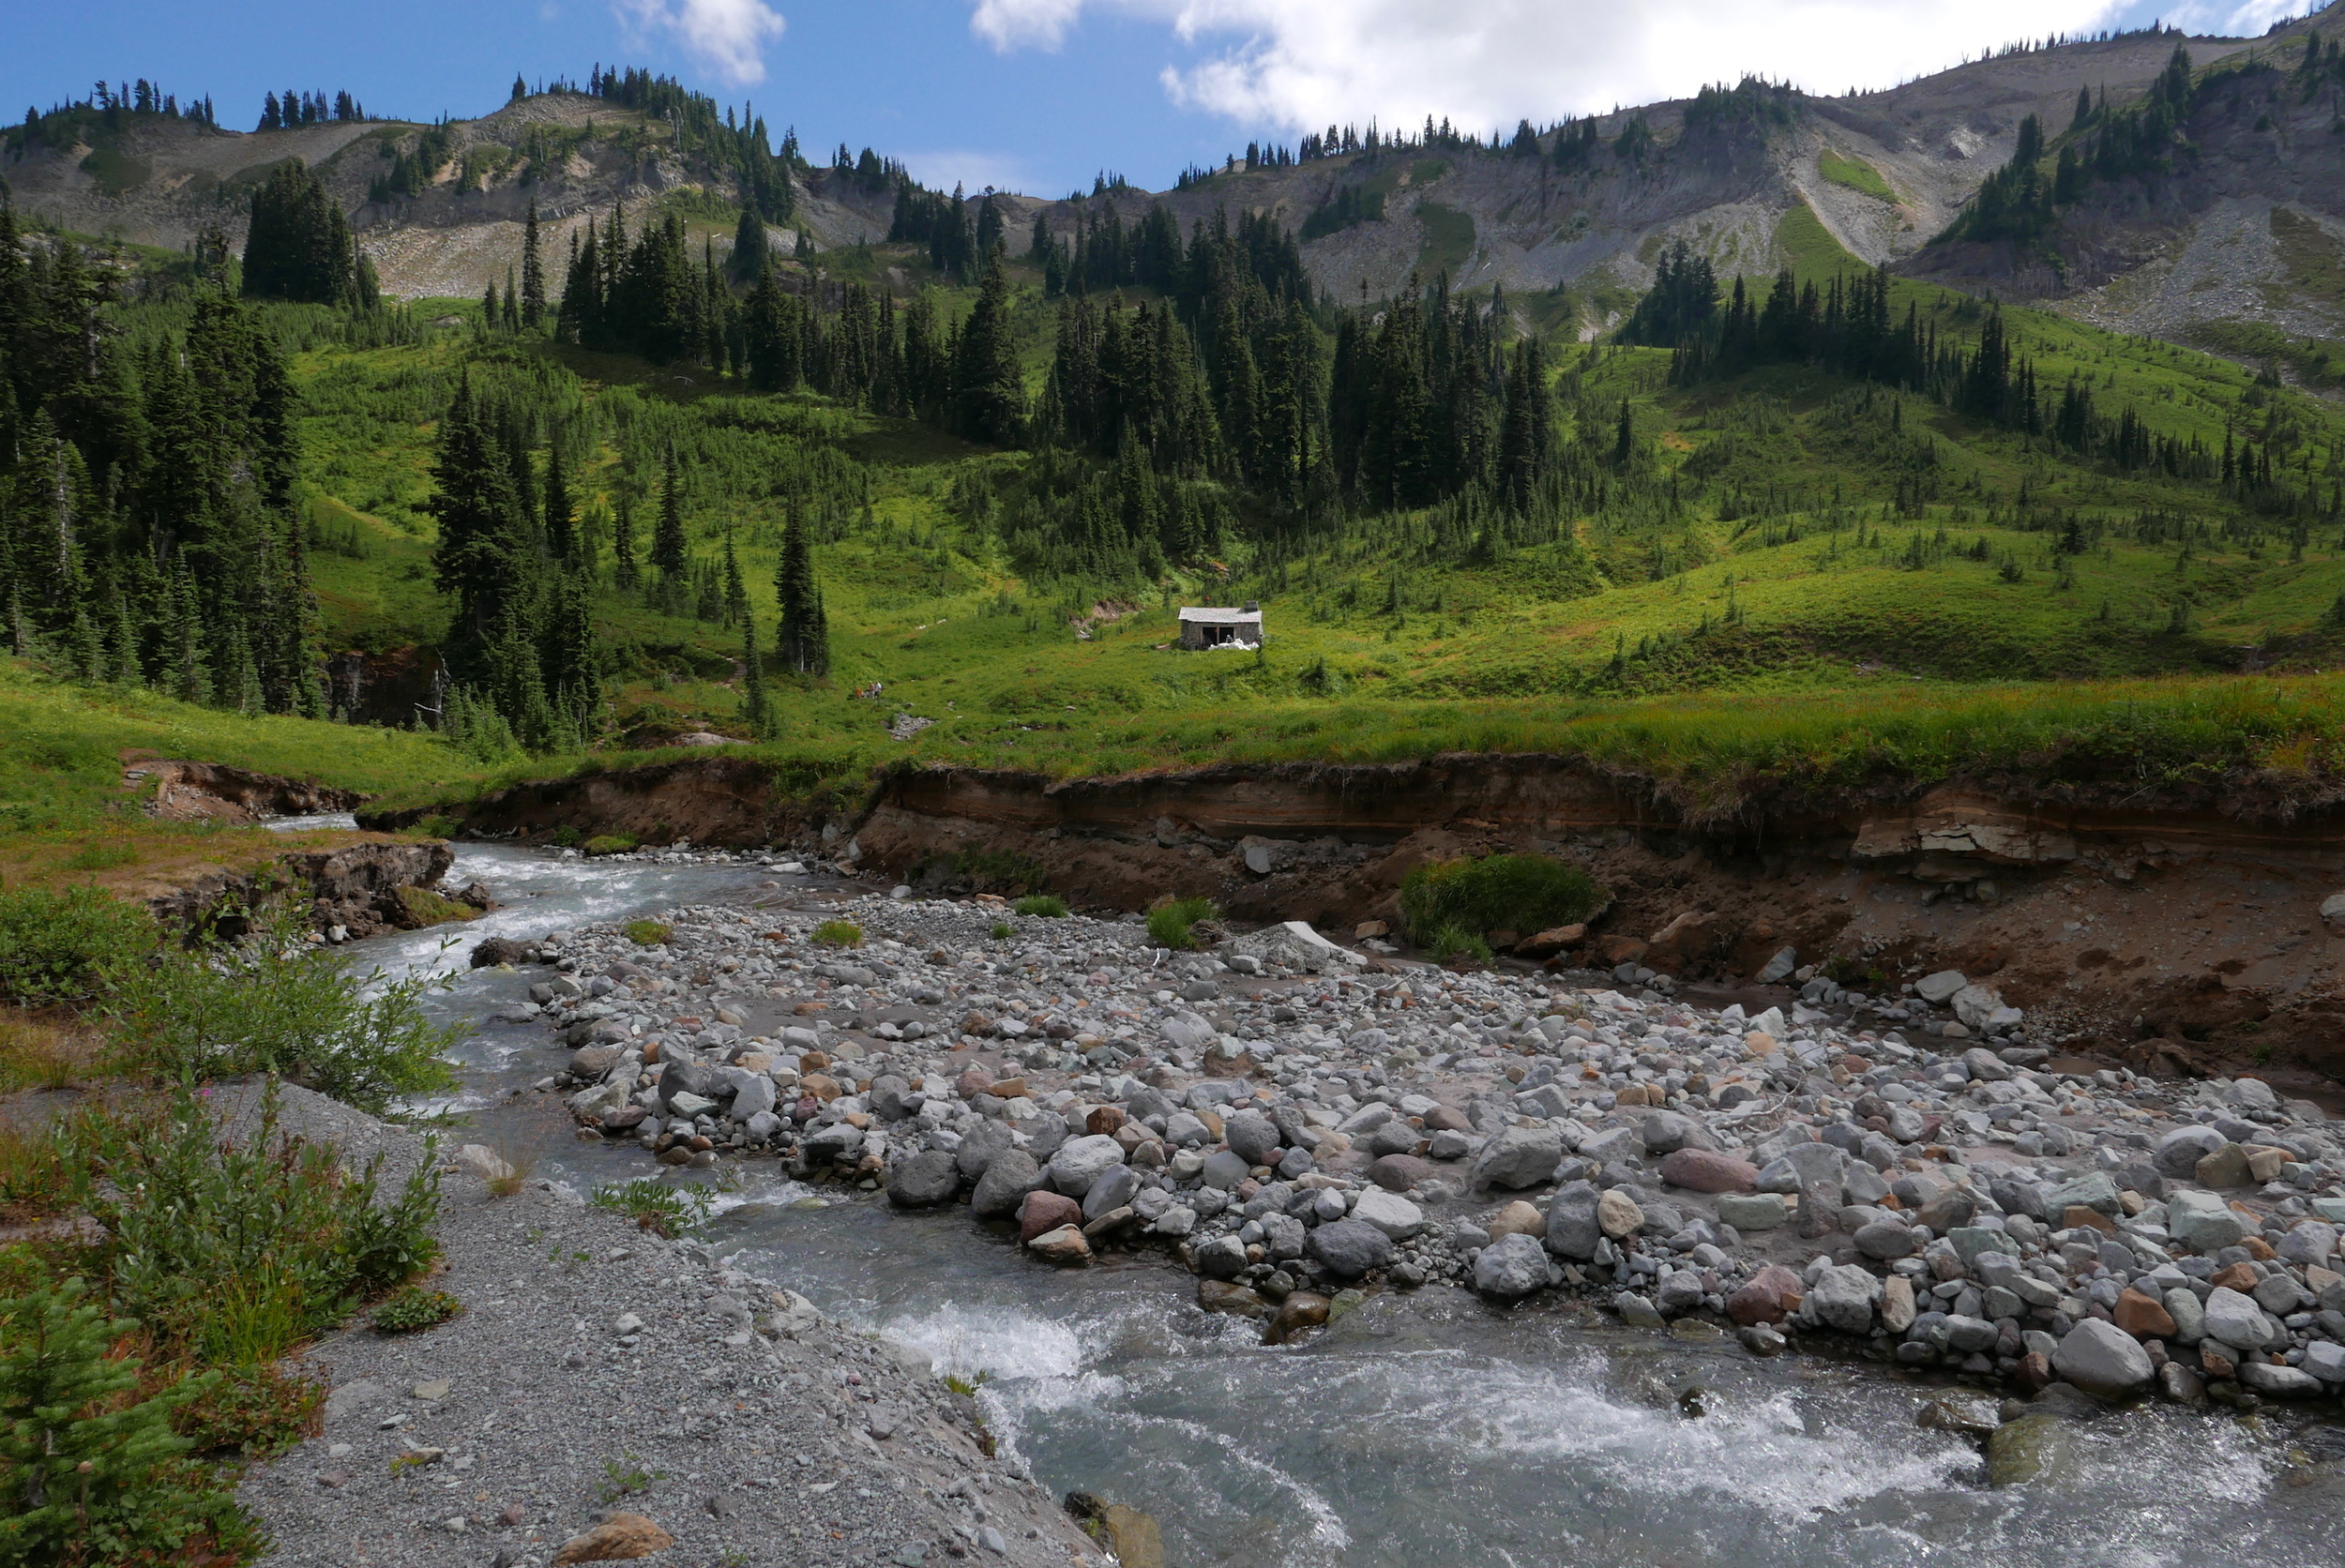
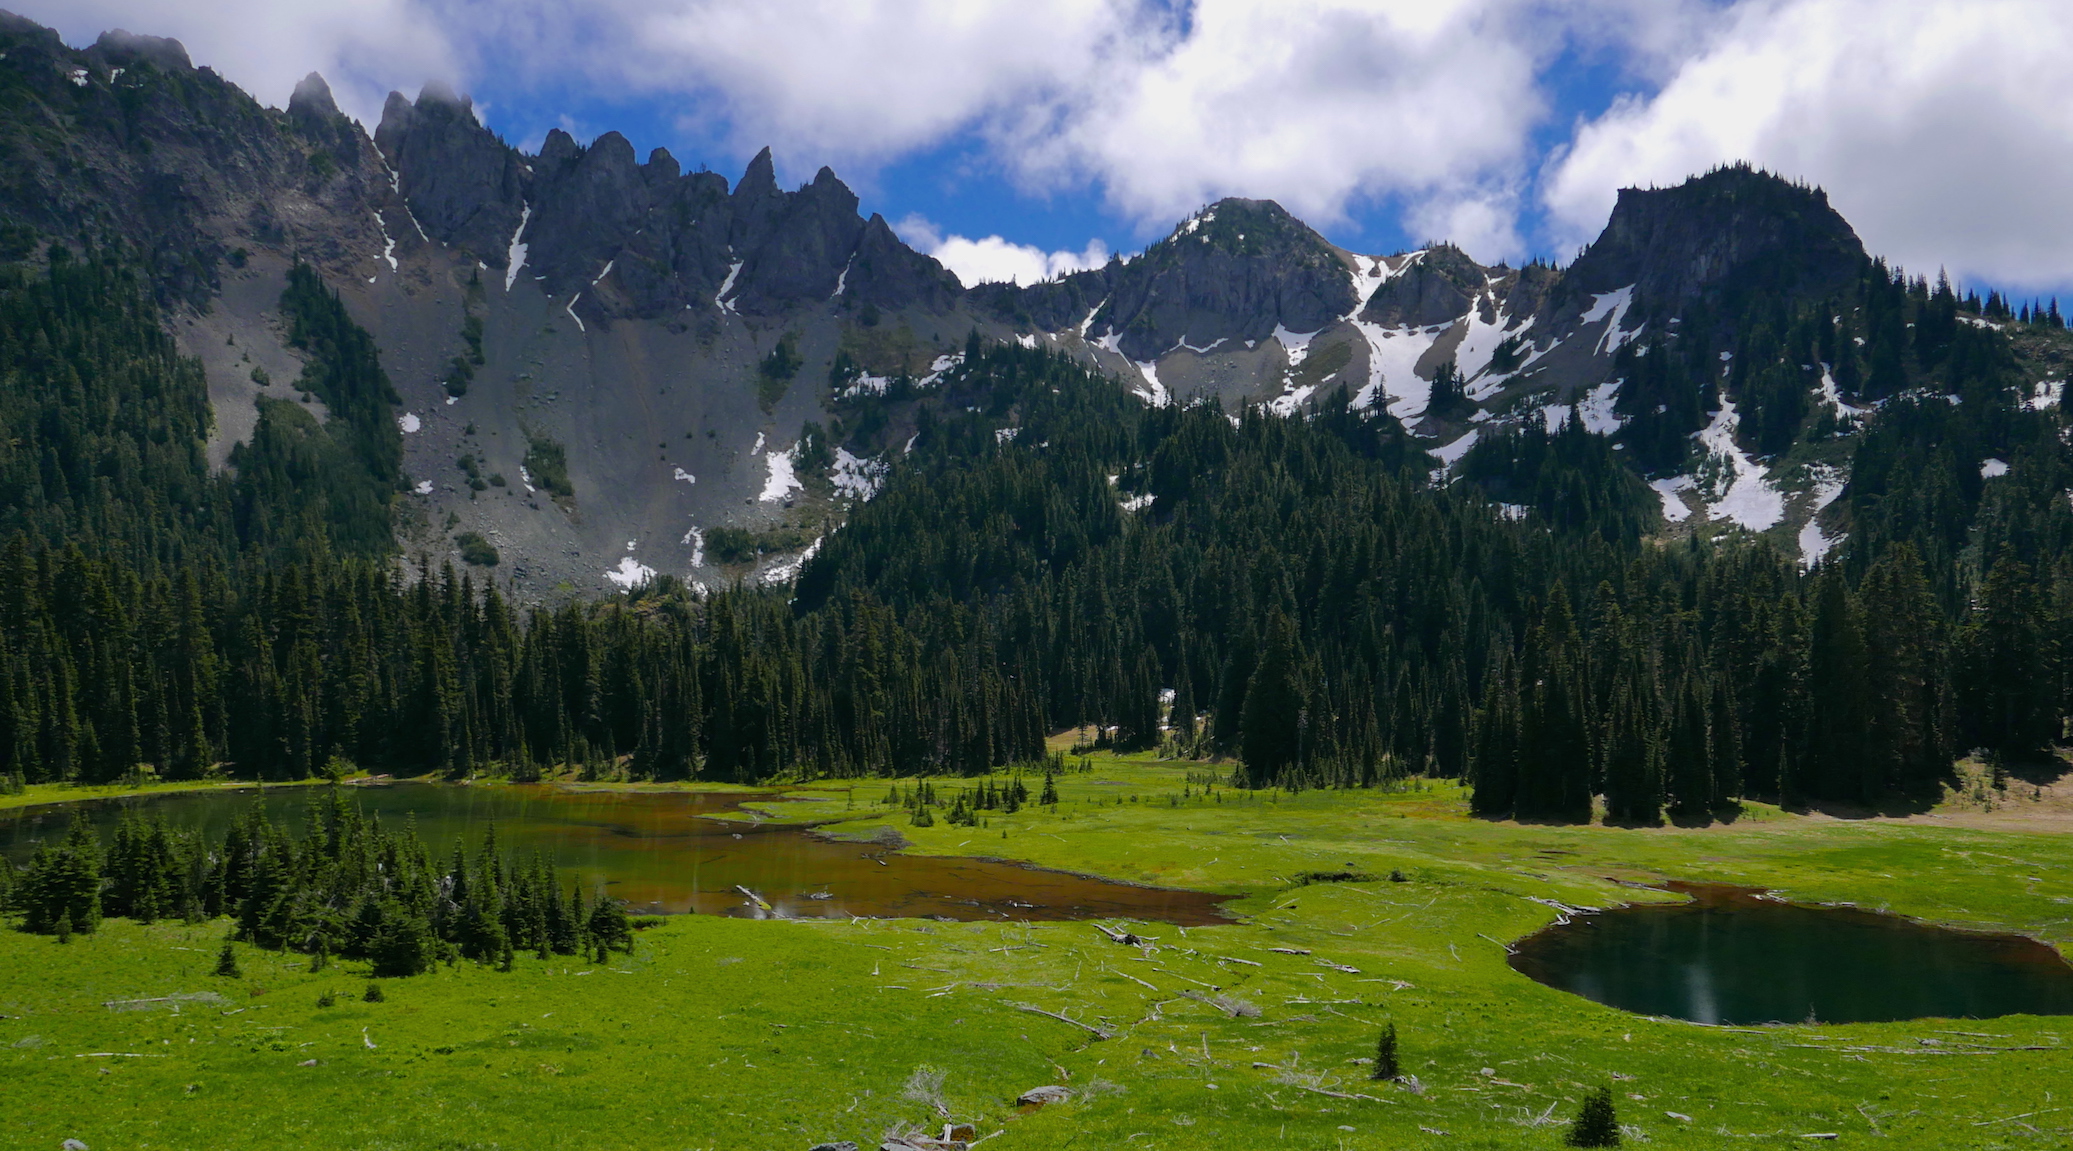
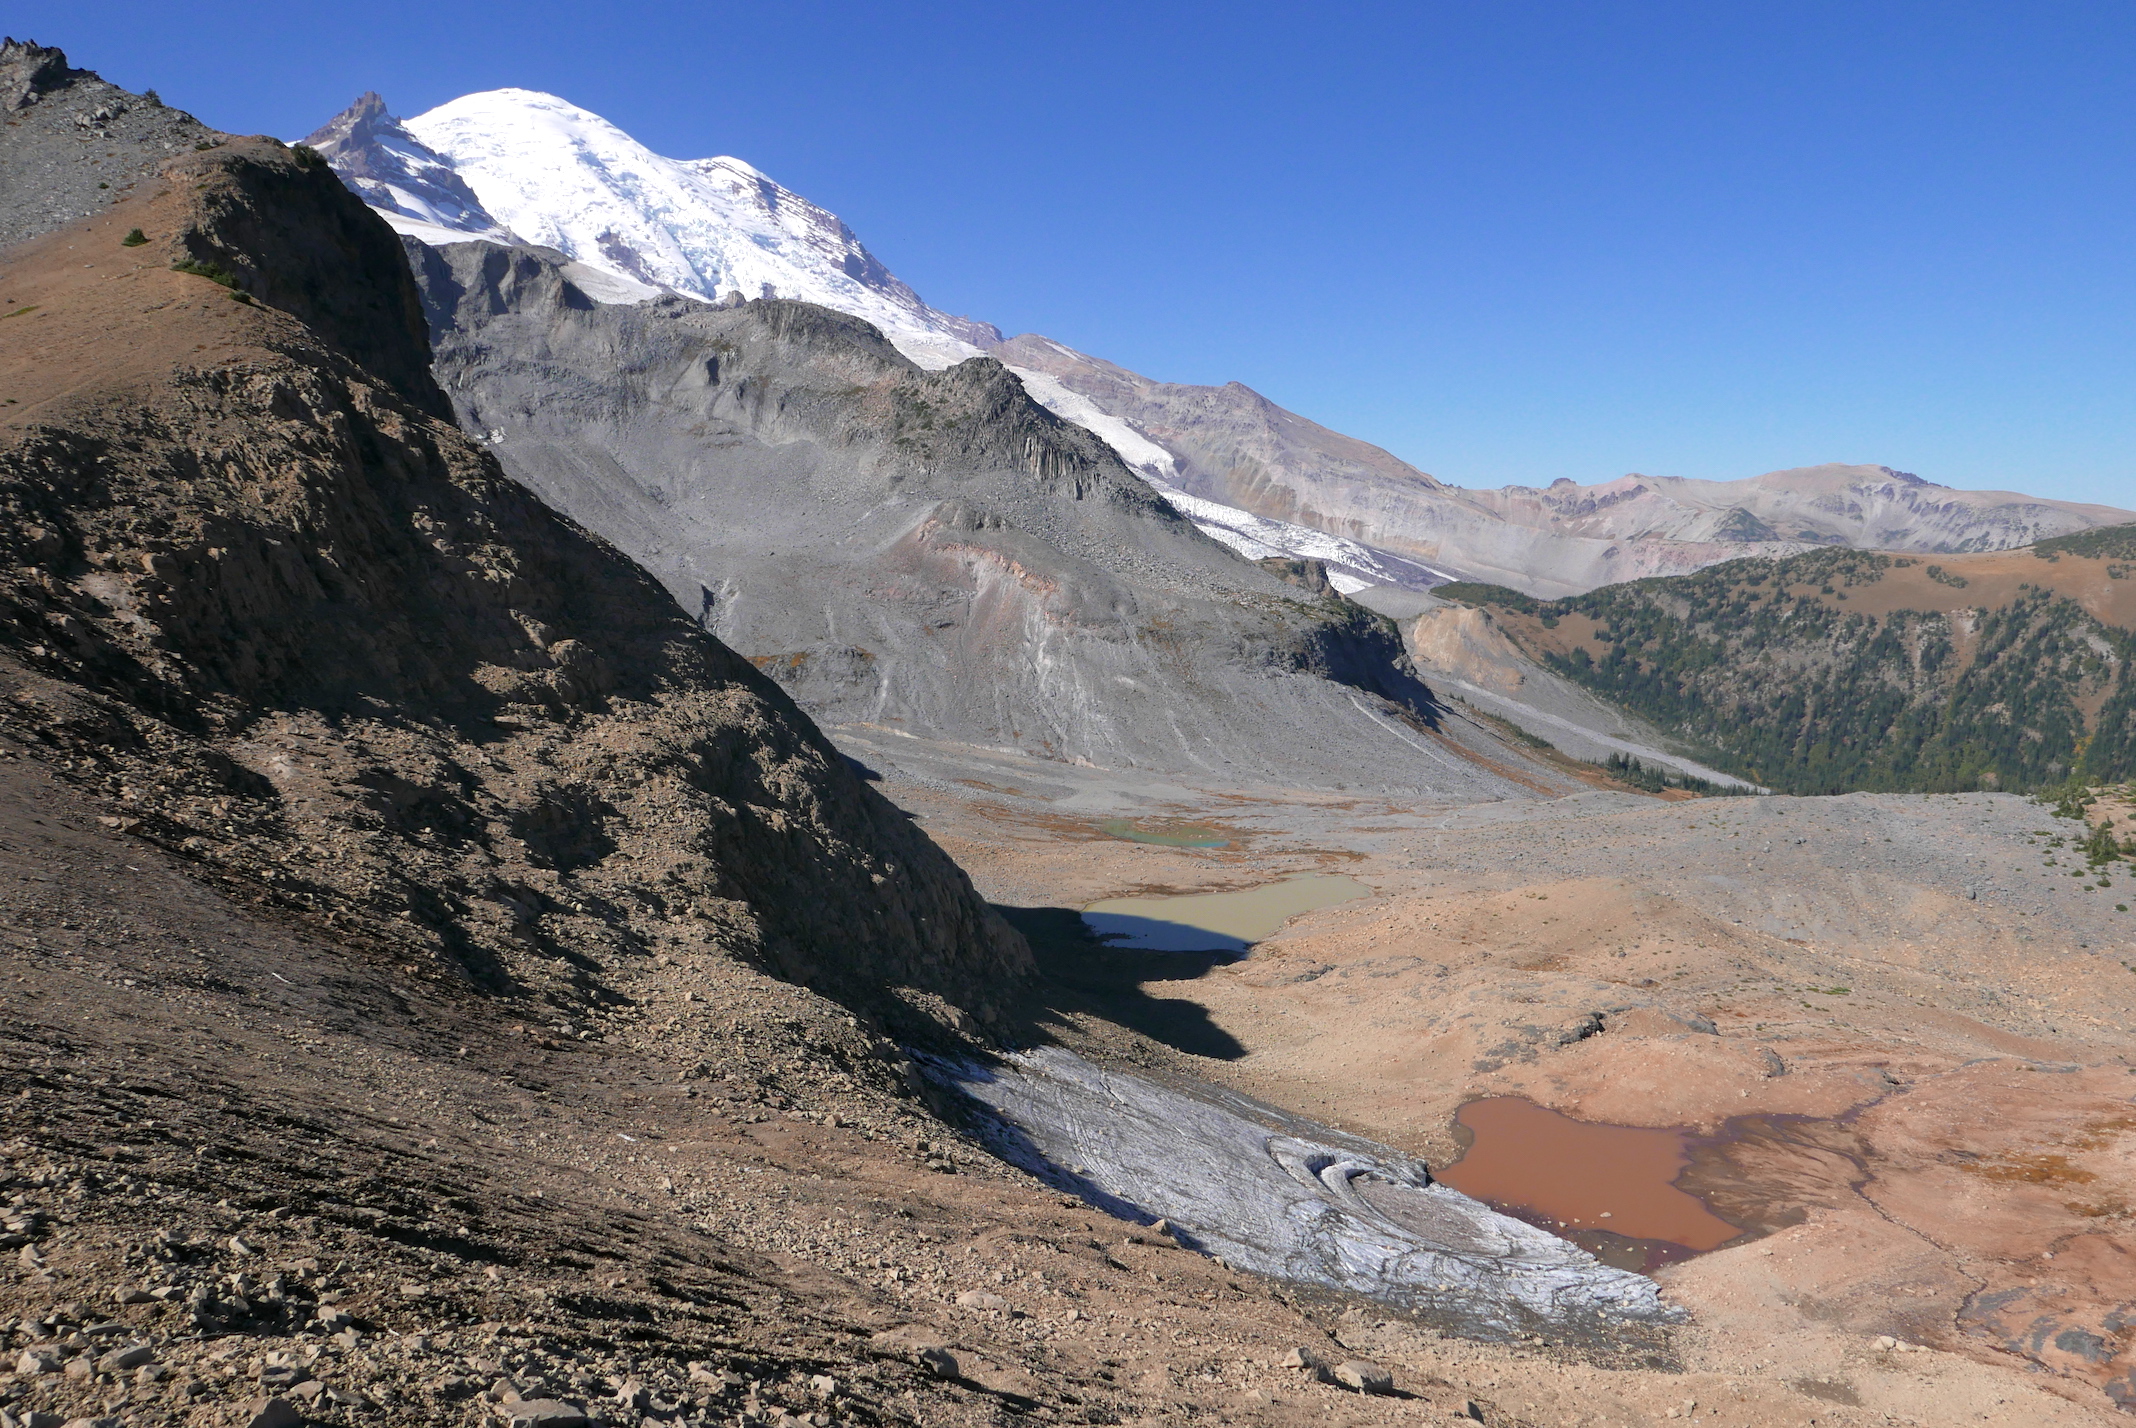
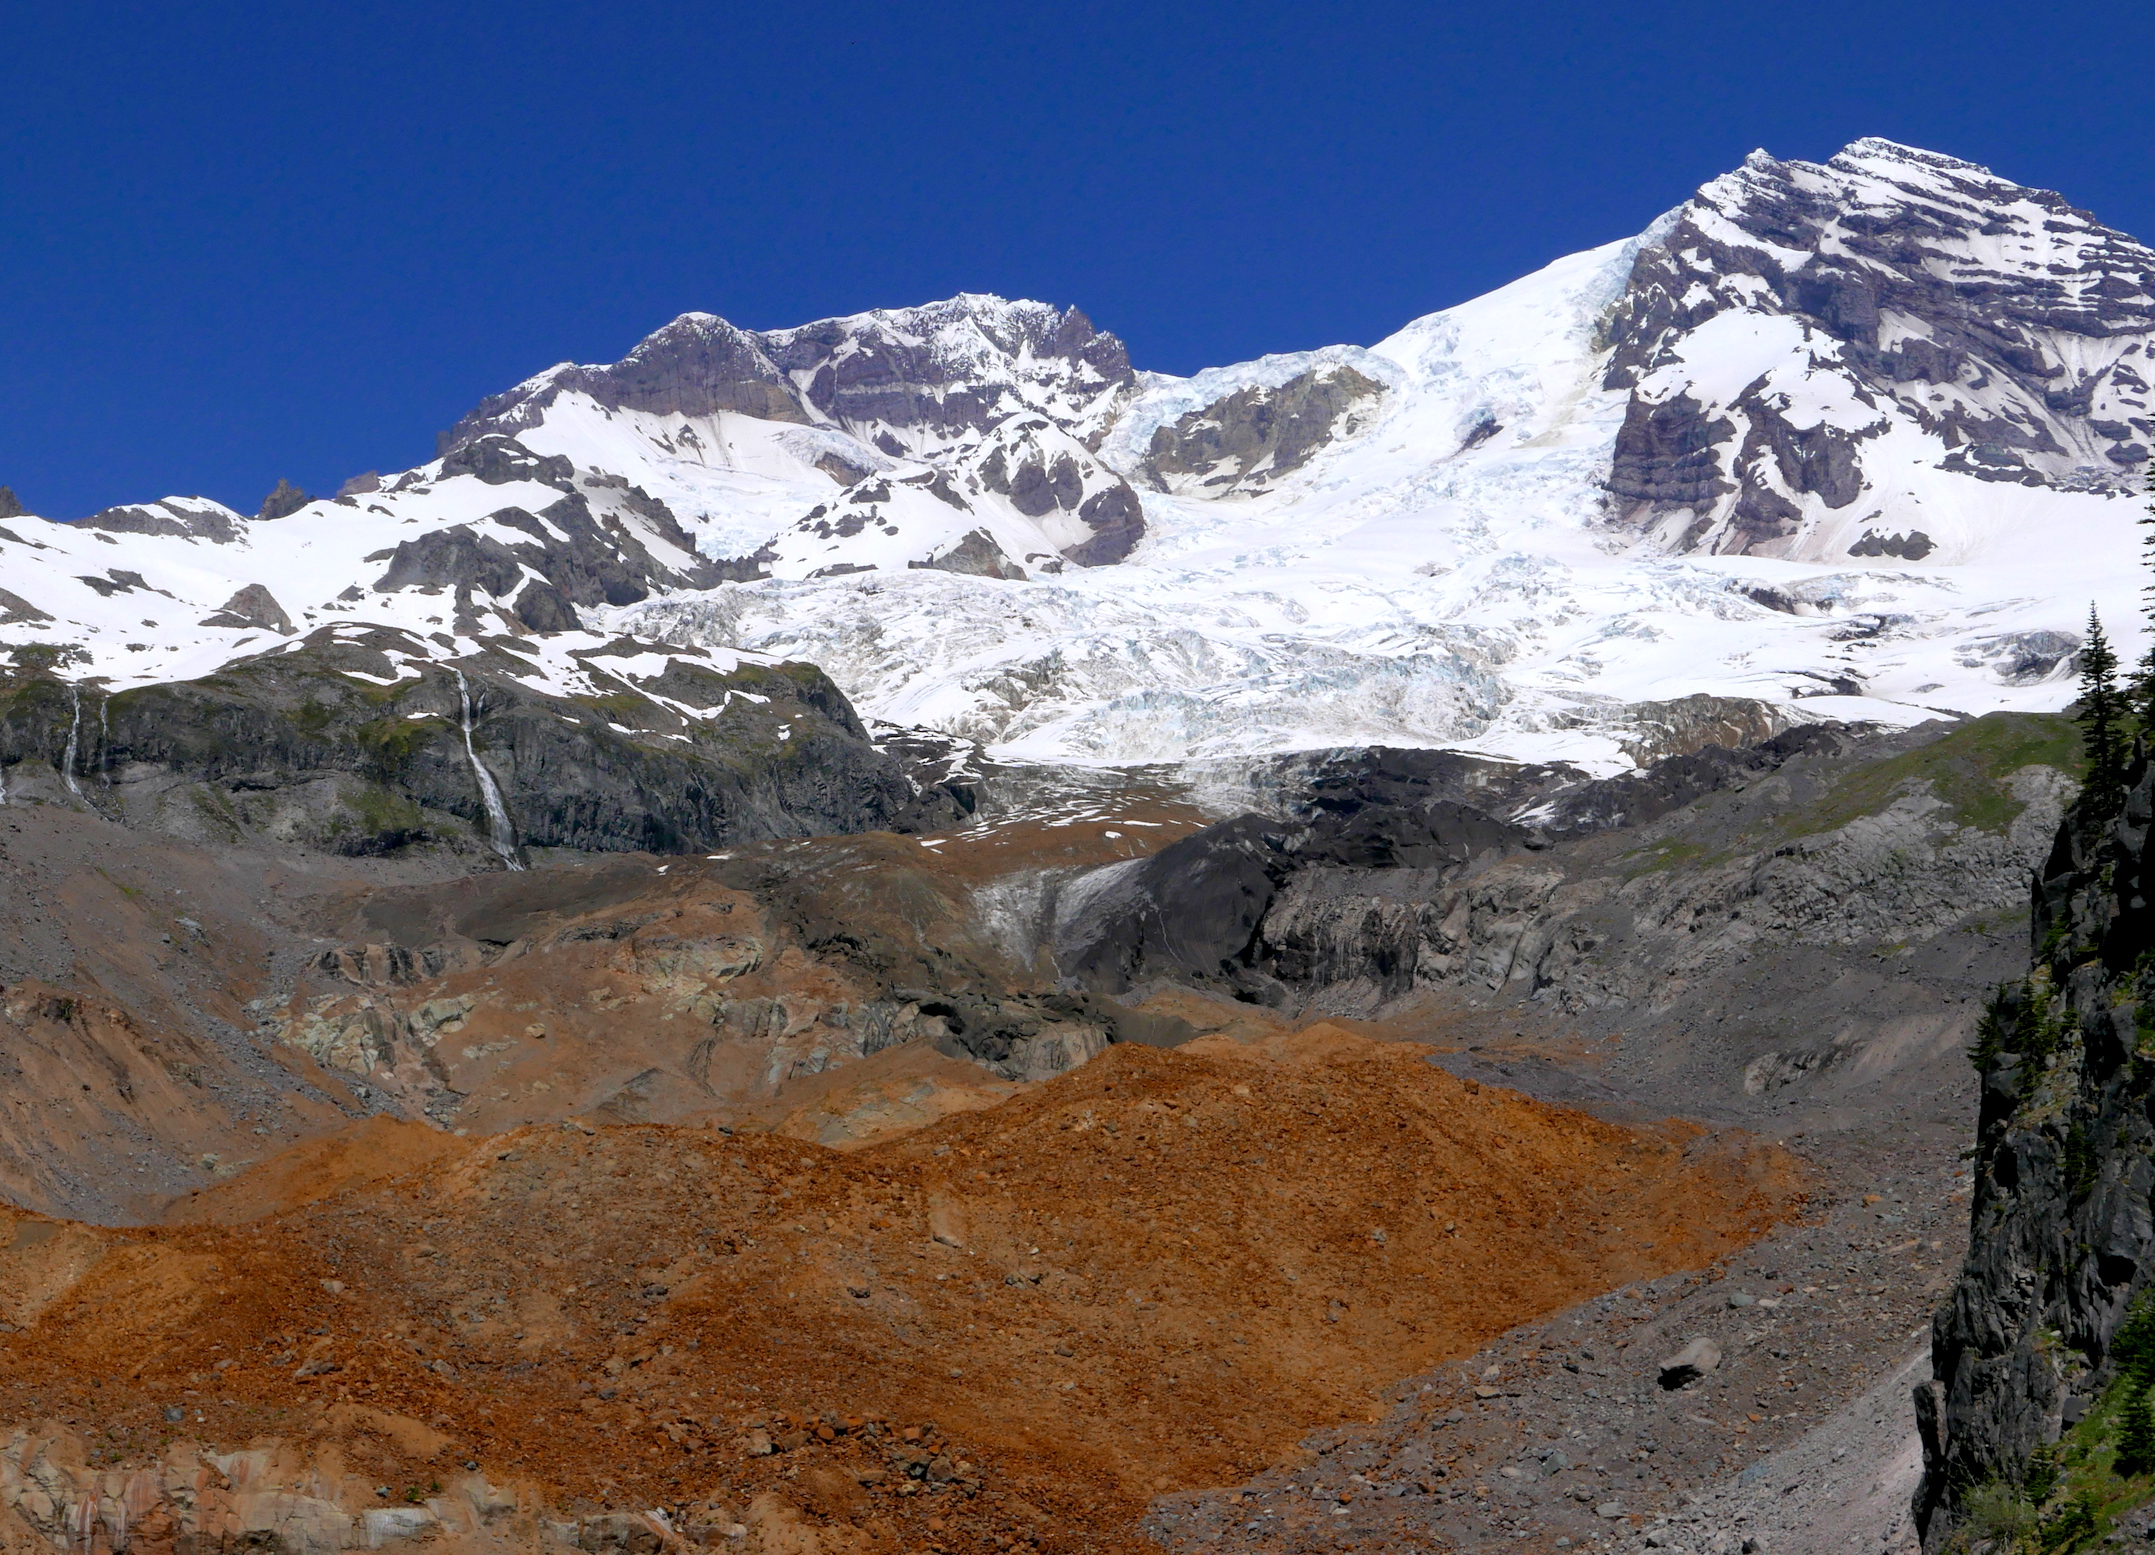
As the reader can tell from my prior post, I've been on a bit of a bike roll lately. But this time of year affords some splendid opportunities at Mt. Rainier National Park to bike the plowed roads with abandon before they open to general public vehicles. My buddy and I took advantage of great weather and this timing to explore around the entire park over two days (May 02-03). We forged up the West Side Road, negotiating the washed out section via carries (from the park website: The washout is such that it is a challenge to hike around due to steep banks and stream flow. Bicycle traffic through this area is impossible and would require carrying a bike around the washout, which would be extremely difficult) and ascended to just short of Round Pass (4000'), stopping at 3700' due to snow that should be gone in two weeks. I was able to careen down the Stevens Canyon Road, cutting corners for the best line, in late afternoon with nary a soul in sight. On the north side we entered via the White River entrance and biked to the White River Campground, enjoying solitude and lunch on a sunny overlook of the river. I've found that timing can afford one solitude throughout the year at this busy park; I've hiked the better part of the Wonderland before it was "open" for business, I've descended from Camp Muir in the evening with only a full moon for company, I've spent the better part of days off trail apart from the masses, and I've biked most of the roads in the park where the only traffic I had to be concerned about was an errant deer. I'm hoping for one more bike visit here before everything comes on line for summer, hopefully being rewarded for hours of climbing with a carefree romp on my vintage steed down empty roads with a smile on my face. Then I'll happily trade my wheels for ambulation.