SKINdependence Day 2017

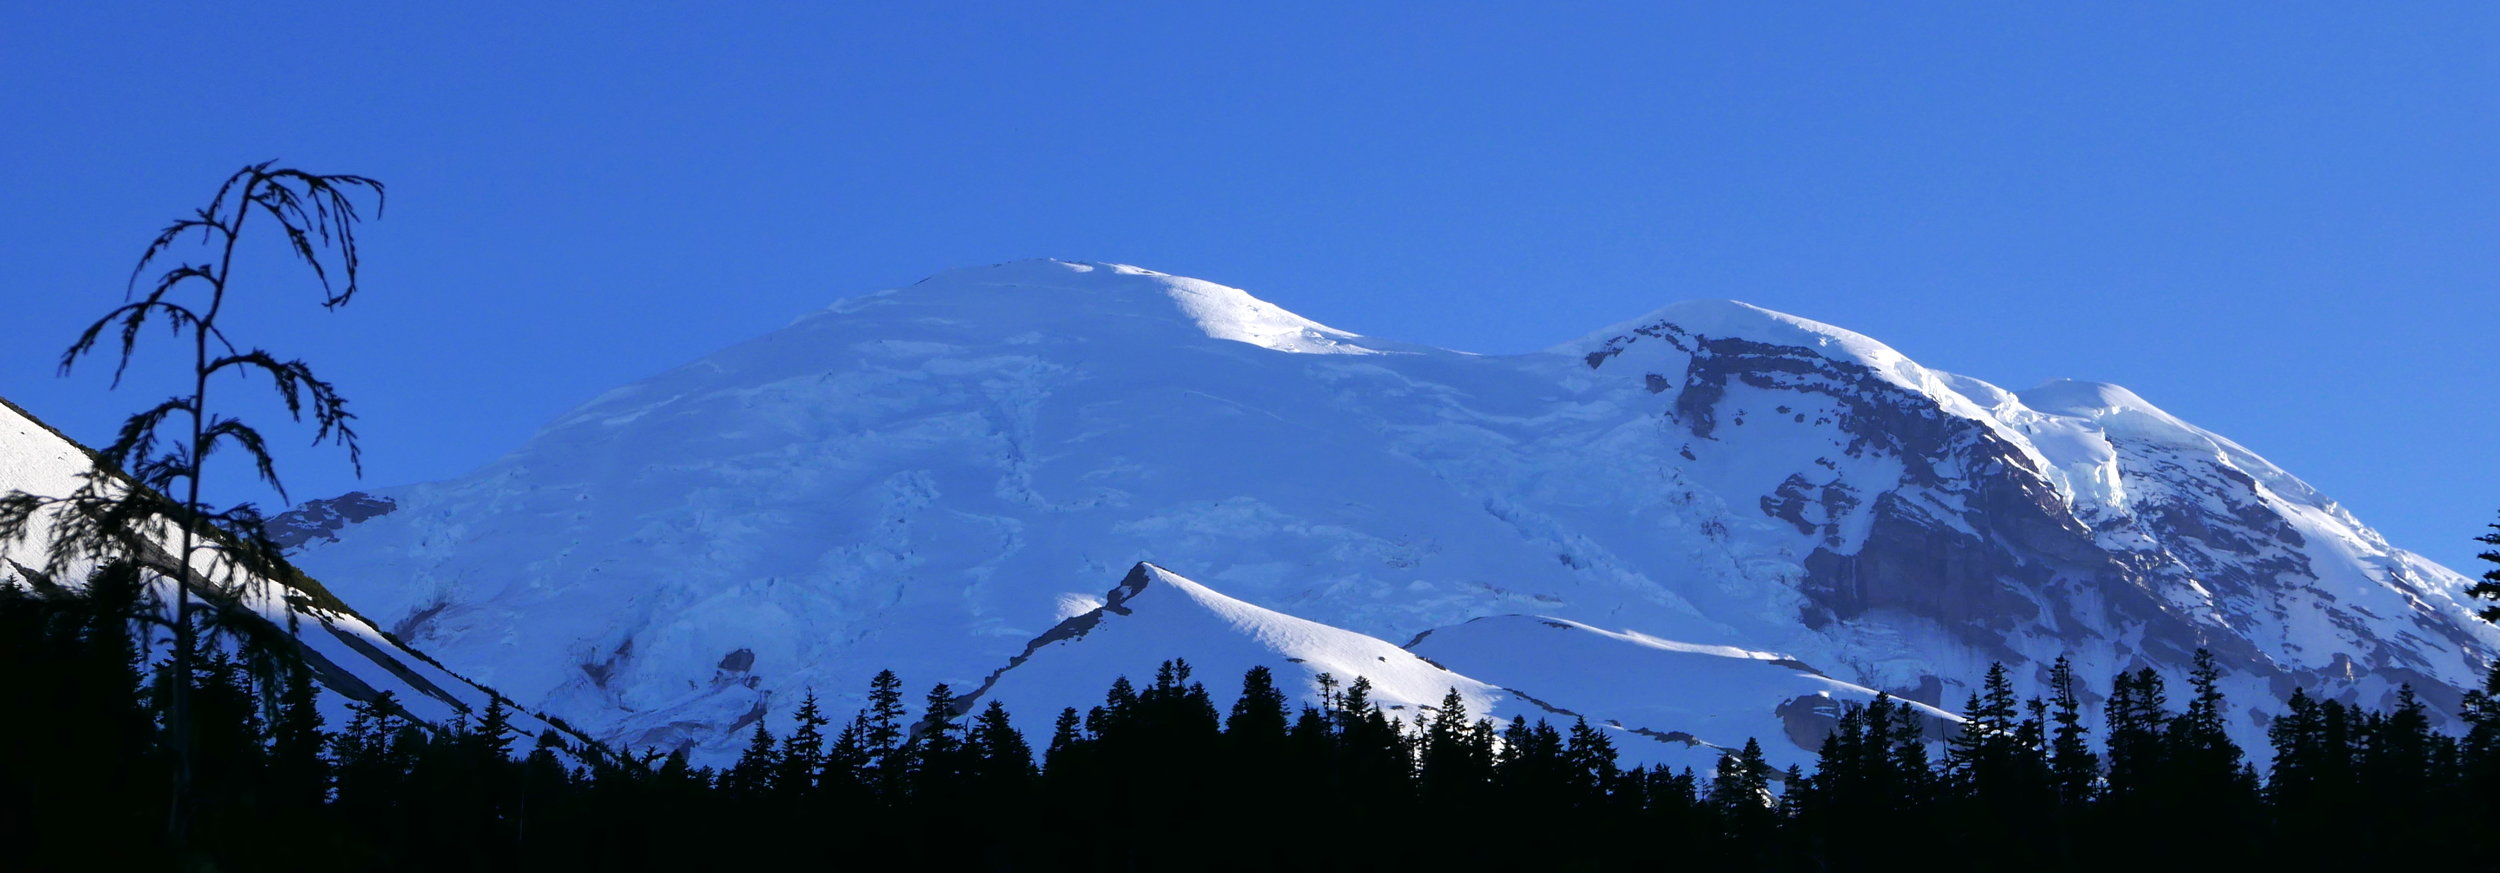
skiing the Russell Glacier, Carbon Glacier below (upper left)
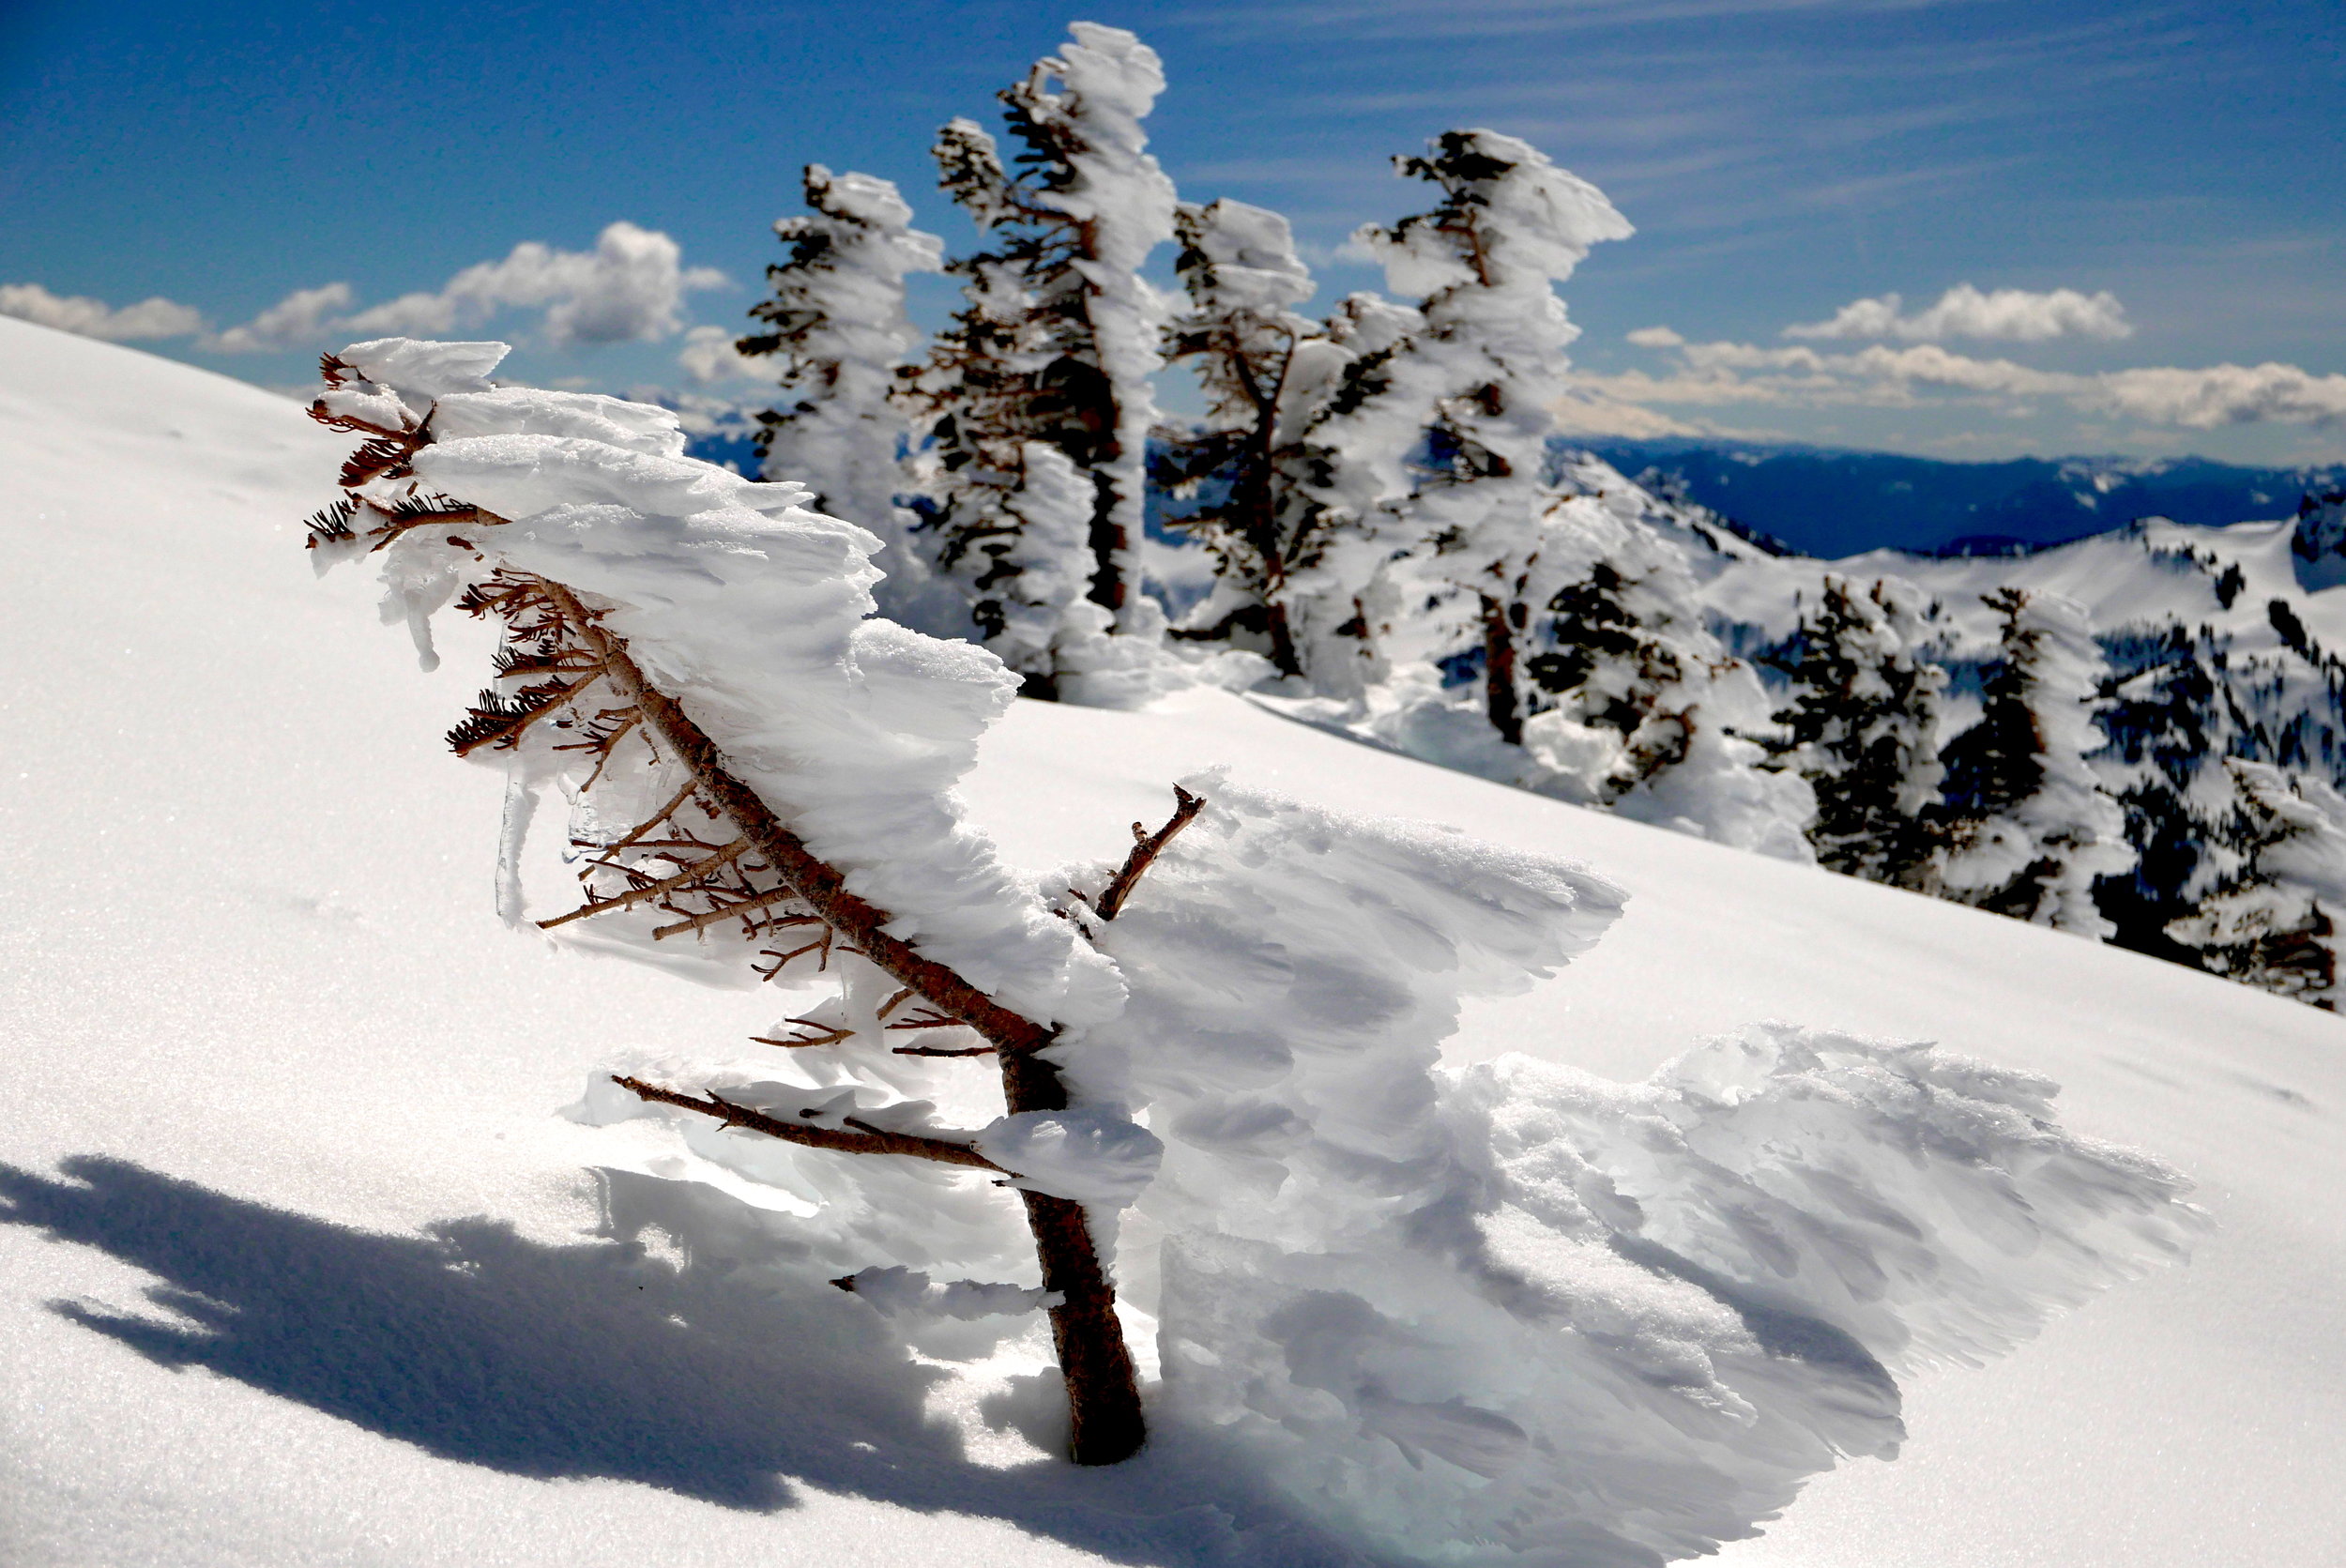
Get those thoughts out of your head. On July 4, 2017 I hiked/skinned/skied the Russell Glacier in Mt. Rainier National Park. Ever since I did Observation Rock and a bit of Ptarmigan Ridge, I wanted to come back and tag a point above 9,000 feet and in the process get in some skiing. With just 4 hours of sleep after returning from overseas, I drug myself out of bed and packed up, hitting the trailhead at Mowich Lake just before 9 AM. Yes, that washboard road from Hell still sucks. There were just a few cars and people on this Skindependence day, and I crossed paths occasionally with 3 other skiers until we parted ways at the bottom of the Flett Glacier....they were heading over to do the ski from the headwall and I broke left to contour above Echo Rock to bake on the Russell Glacier. Aside from 4 day hikers, these were the only people I saw all day, and once I hit the Russell I had the park to myself. I have to admit that this was a long, tough day, entailing about 16 miles RT and over 5,000 feet of climb/descent. It was very hot on the glacier(s), I spent a considerable amount of time schlepping my skis and boots, the terrain was sometimes challenging, and I ran out of water before topping out at 9510'. I resorted to eating some snow to keep my mouth from feeling like the Gobi, as no melting rivulets were to be found on the way up. The last stretch going up the Russell was steep enough to shed the skins and boot up, but the views were amazing from this height. The Liberty Ice cap and the top of Willis Wall look completely different because of the angle, closeness and altitude from such an interesting part of the mountain. Perched on Ptarmigan Ridge, one can survey the entire Puget Sound and gaze down on the North Mowich Glacier and the rugged Mowich Face above. The Liberty Cap ice fall looks like it could shed at any moment (I did record the tail end of a minor avalanche). One can look across during the climb or descent to Curtis Ridge, and on the ski down it was strange indeed to see the rubble-y Carbon Glacier stretched out below the fall line. Generally the snow was good and not too mushy, although somewhat striated....every turn crossed mini ridges for a bumpy ride but that didn't detract from my enjoyment of having this entire glacier and environs to myself. I skied lower than my ascent, which necessitated a short carry over to the Flett, and soon I found myself at the bottom of the run with a melt pool to slake my thirst. Although I had short cut the ascent from Spray Park over snow, I decided to continue down the summer trail for the descent, basking in perfect afternoon weather on heather during a snack break, sipping on ice cold water caressed from a tiny stream off snow melt to ensure I was rehydrated. The only sounds were wind and birdsong, and eventually I donned my clumsy and heavy ski and boot laden pack for the last push back to the vehicle. Spray Park is awash in avalanche lilies and speckled between with red, purple and yellow, but nowhere near the peak, there is still a bit of snow coverage in the meadows. As evening approached the mountain blazed with low angle sun through the trees, and I finally emerged from the woods at 9:40 PM, no headlight required. There's always a let down when the day is done, but I could tell I was really spent from the physical demands of the day. I was still able to enjoy fireworks on the ride out, especially in clear areas facing west to all the myriad towns from the Mowich road. Today defined the phrase "earn your turns", but this Skindependence Day was one of the best times I've had on the mountain.
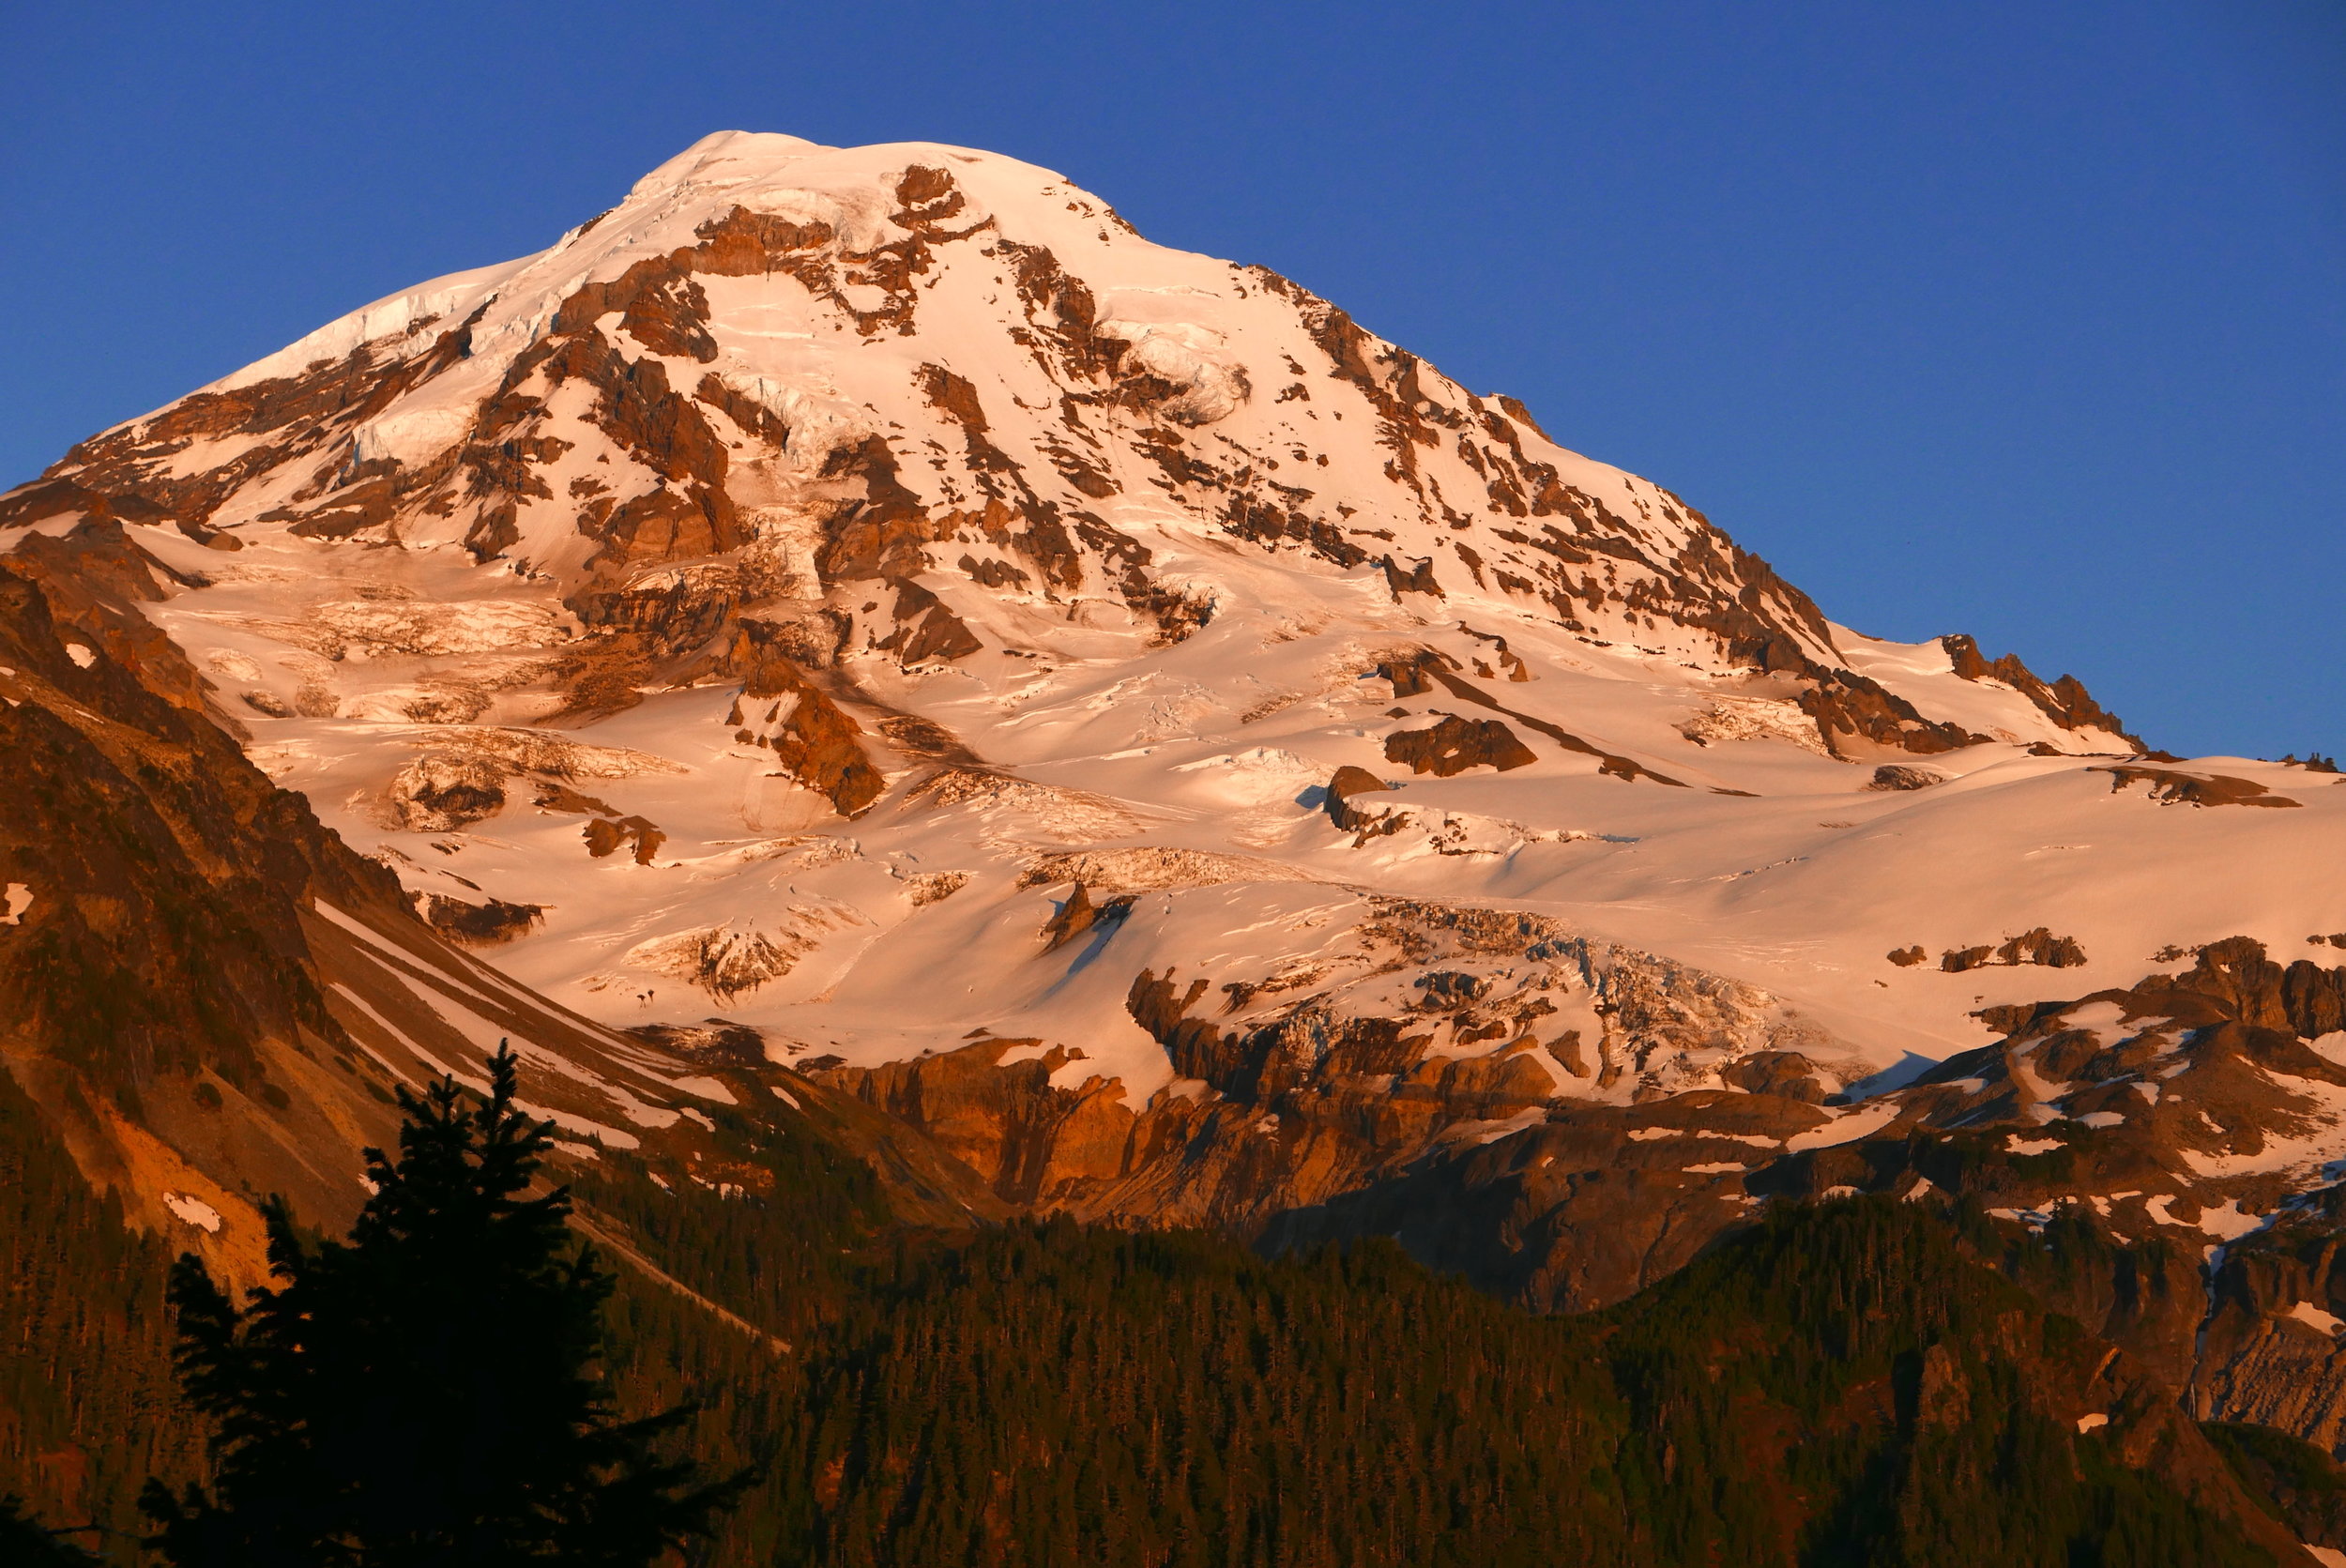
Alpenglow from Eagle's Roost, on the hike out (July 4, 2017)